Designing Your Hierarchy
Your hierarchy is the structure customers use to understand what is affected.
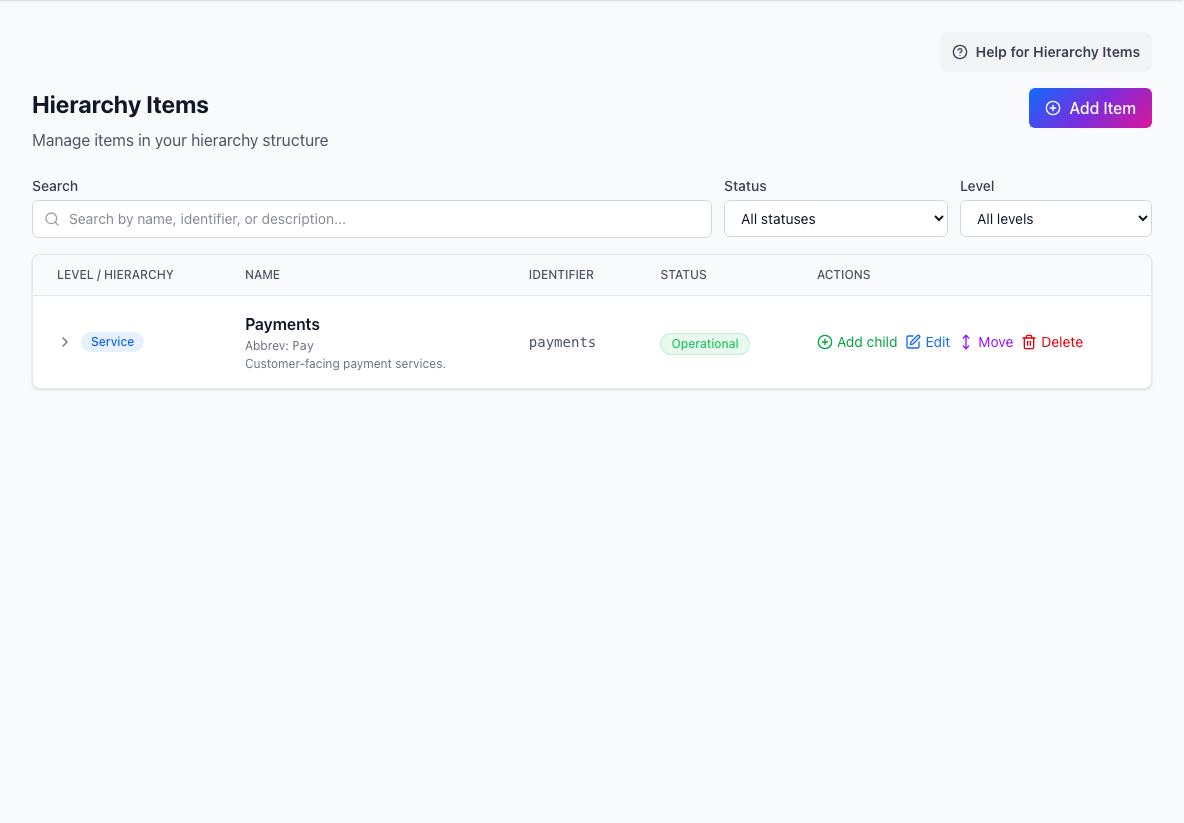
- Add ItemCreates a service, region, component, or another hierarchy item.
- Search and filtersNarrows the hierarchy by text, status, or level.
- Hierarchy tableShows each item, identifier, current status, and available actions.
Start with the structure your customers understand, not the structure your infrastructure team uses internally.
How hierarchy works
Hierarchy levels define the shape of the tree. Hierarchy items are the actual products, services, regions, and components in that tree.
For example:
You do not need to use this exact model. Choose the structure that makes customer impact easiest to understand.
Step 1: Define levels
Create hierarchy levels before adding deep child items.
Each level has:
- depth
- singular name
- plural name
Depth controls where the level sits in the tree. Keep level names plain and customer-facing.
Step 2: Add items
Hierarchy items are the entries visitors and operators interact with.
An item can include:
- name
- abbreviated name
- identifier
- description
- display order
- metadata
- parent item
The identifier should be stable. It is often used by automation, filters, routes, and imports.
Step 3: Organize and refine
You can search, add child items, edit existing items, and move items around the tree.
Reorganizing is possible, but large hierarchy changes can confuse customers, subscribers, and operators. Treat public names and identifiers as part of your communication model.
Where hierarchy appears
Hierarchy affects:
- public status page browsing
- incident affected-service selection
- maintenance affected-service selection
- custom views
- homepage default focus
- Terraform-managed configuration
- Beat attachment and public metrics
Because it appears in so many places, a clear hierarchy makes the rest of StatiBeat easier to use.
Practical setup advice
- Put customer-facing product areas near the top.
- Add technical subdivisions only when they help readers understand impact.
- Use abbreviated names for Slack-friendly displays.
- Keep identifiers stable once they are in use.
- Add levels only when they make the page clearer.
If customers care about services more than infrastructure, make services prominent. If they care about regions, make regions visible rather than hiding them in descriptions.