Admin Quickstart
This guide is the fastest path from an empty workspace to a useful StatiBeat deployment.
If you are brand new to the product, pair this with Getting Started. If the basic page-admin workflow already works and you now want integrations or config as code, continue with Automation and Integrations.
Create one page, a short hierarchy, one incident, and one maintenance window before adding integrations. You can expand the model later without making the first customer experience harder to understand.
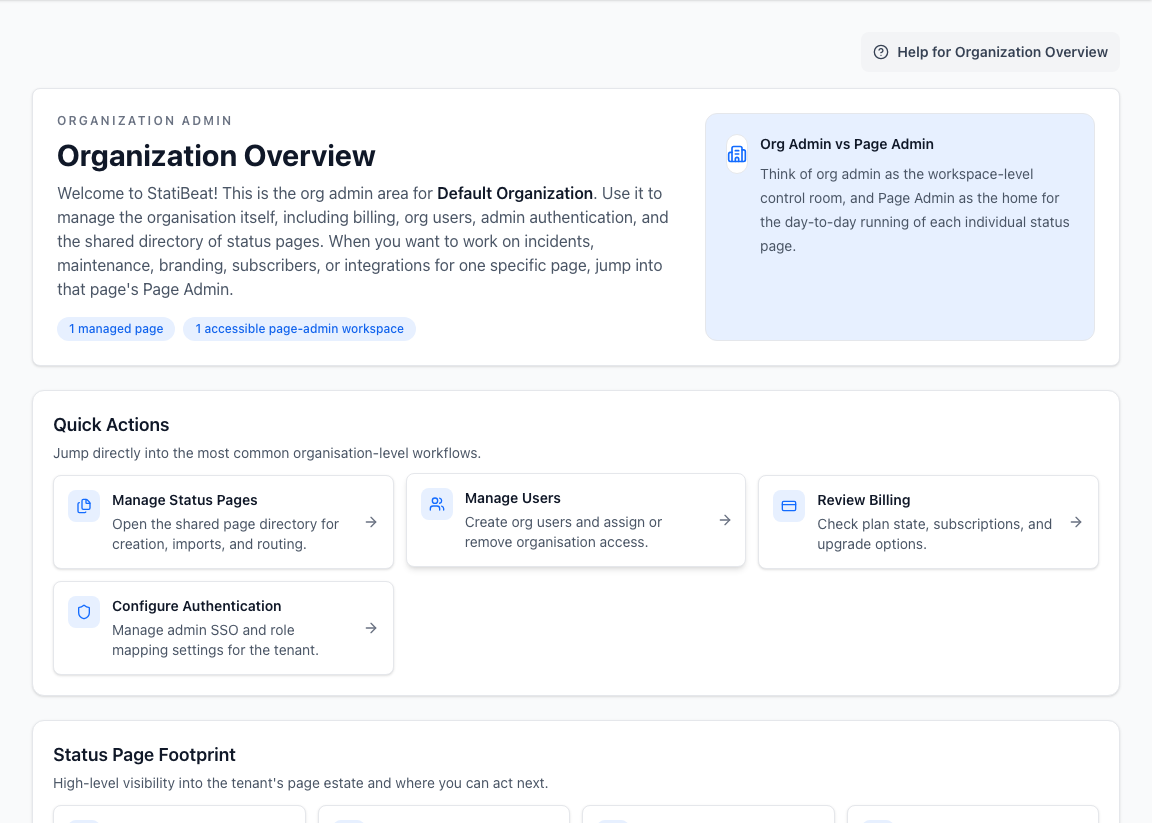
The shortest useful rollout
If you are setting up a new page, do these in order:
- create the status page
- decide whether it is public or private
- define your hierarchy levels and items
- set status types and message conventions
- customize branding and homepage layout
- test one incident and one maintenance flow
- configure subscriptions, access, and automation
Step 1: Create the page
Start in organization admin and create the status page with:
- public name
- internal name, which matches the public name if left blank
- URL prefix
- visibility
- shared viewer password if it should start private
At this stage, focus on getting the page created rather than perfect.
When the page is created, open Page Admin from the page list. If you do not see that action, you likely have organization-level access without page-admin access; ask an organization administrator to grant the page role.
Step 2: Build the public model
Before you touch automations, define the public model your readers will see:
- hierarchy
- status types
- incident and maintenance communication style
If this model is unclear, the rest of the setup will feel messy later.
Use Service Model → Hierarchy Levels to define the layers, then Service Model → Hierarchy Items to add the actual services and components. A useful first model is Service → Region → Component. See Designing Your Hierarchy for examples.
Step 3: Configure the homepage
Set the pieces your visitors will depend on most:
- branding
- homepage section order
Tree VieworBasic Viewdefault- incident-card presentation
- default component focus if you want one
Open the public page after saving and check it as a reader. Confirm that the current status, affected component, and latest update are understandable without admin context.
Step 4: Set roles and access
Decide who owns:
- organization administration
- day-to-day page administration
- incident handling
- subscriptions and communications
- integrations and automation
The product supports that separation, but you still need to decide who does what.
Keep one named owner for each of these responsibilities. During an incident, avoid making the person writing the customer update discover the access model at the same time.
Step 5: Add automation only after the manual flow works
Only after the basic page is solid should you add:
- API tokens
- Slack workflows
- Beats
- Terraform
- AI-assisted drafting
That order keeps automation aligned with the communication model you already trust.
For the first automated workflow, keep the action in review or draft mode. Let an operator confirm the affected scope and message before anything is posted publicly.
Keep the first admin rollout boring
- make the page understandable before you make it automated
- keep ownership clear between org admin and page admin
- test one incident and one maintenance flow before you introduce new tooling
The rollout is ready for a wider team when a second admin can find the page, understand its hierarchy, publish a test update, and resolve it without needing a private handoff.
Recommended next reads
Finish the operational basics
- Hierarchy, Statuses, and Components
- Public Page Customization
- Access, Domains, and Organization Management
- Incidents, Maintenance, and Message Automation